
So, you want to cook beans from scratch? It might seem a little tricky at first, especially if you’ve only ever used canned ones. But honestly, it’s way simpler than you think. It’s mostly just beans, water, salt, and giving them enough time. Forget those complicated recipes; we’re going to break down the bean cooking science so you can get them just right, every single time. We’ll cover what makes them soft, how to add flavor, and what to do with all that leftover cooking liquid. Get ready for some seriously good beans.
Key Takeaways
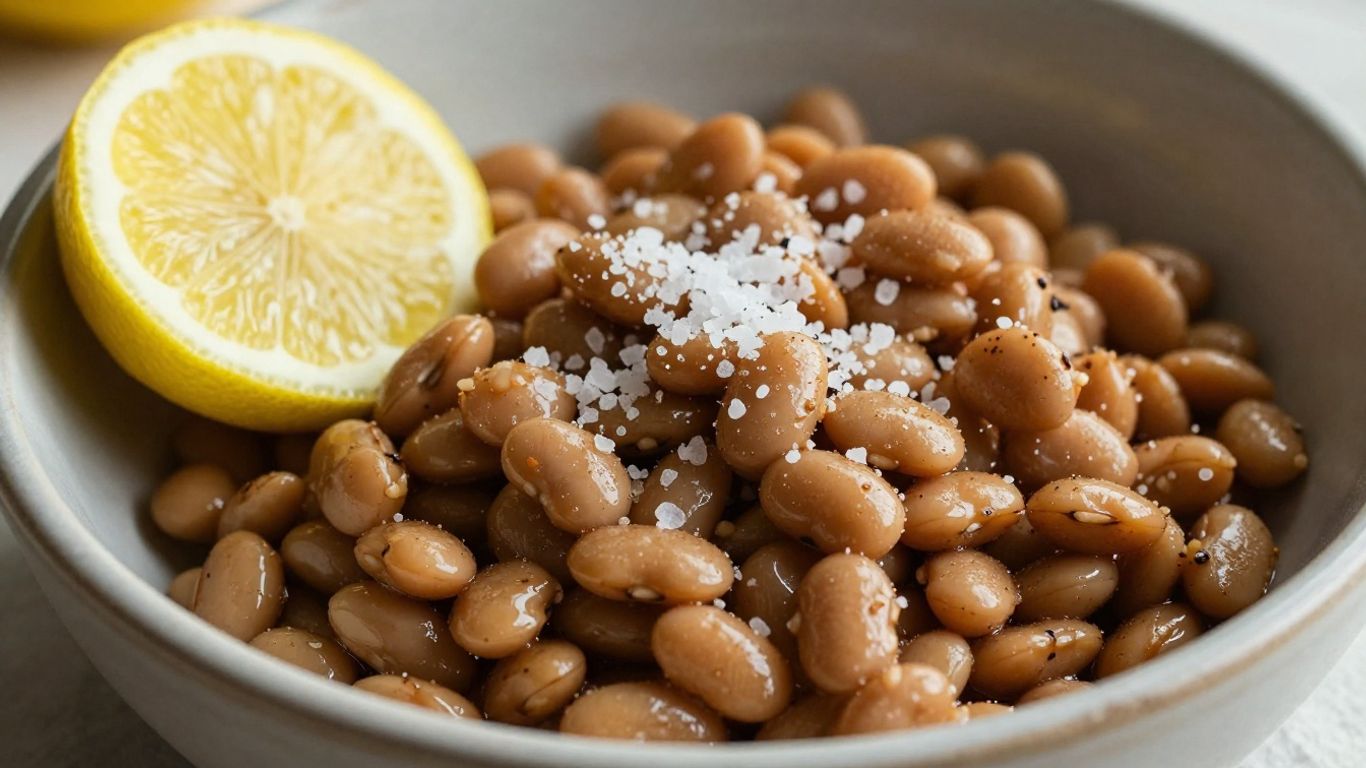
- Salt is your friend! Don’t be shy with it; adding enough salt to make the water taste like the sea helps beans cook evenly and prevents them from getting tough.
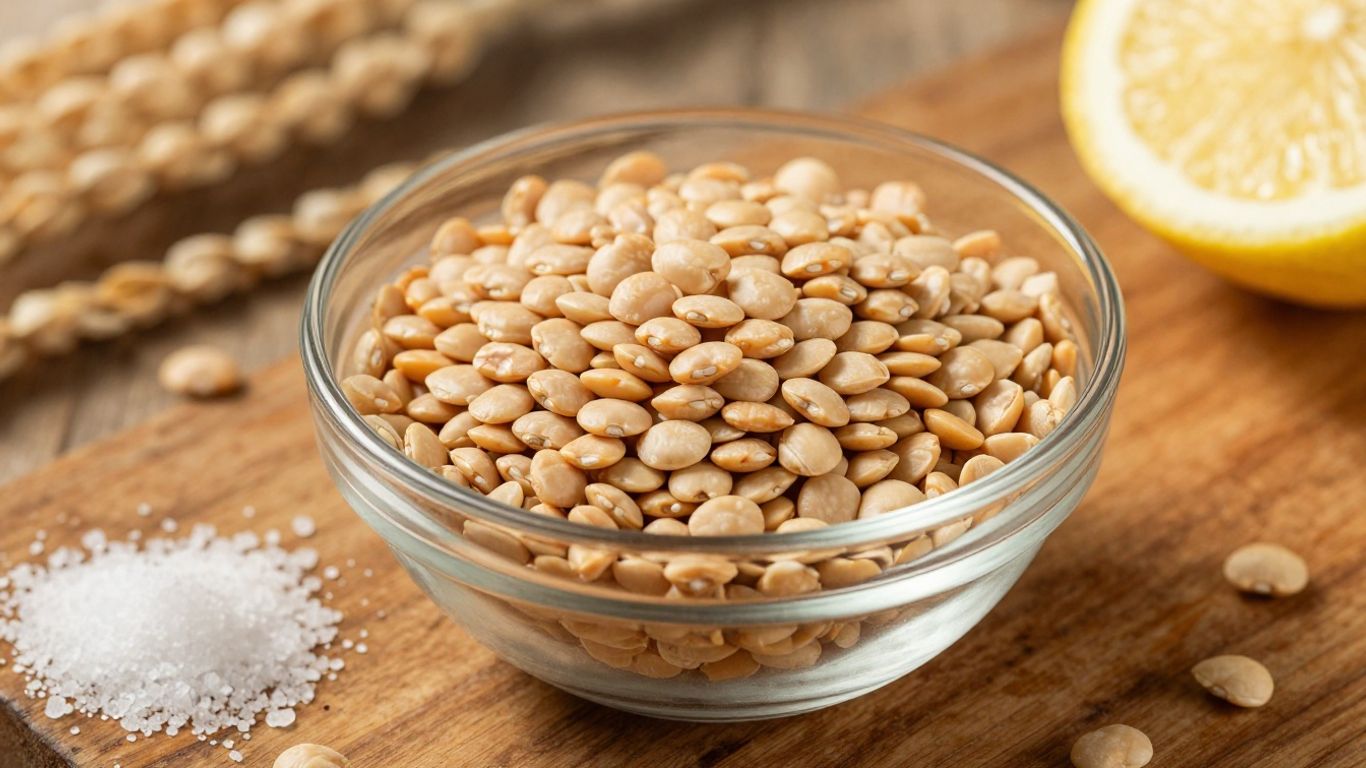
- Soaking beans is helpful but not always needed. It speeds up cooking, but you can skip it if you’re in a hurry. Just know that different beans need different soaking times.
- Acids, like tomatoes or vinegar, make beans hard. Wait until your beans are tender before adding any acidic ingredients to your dish.
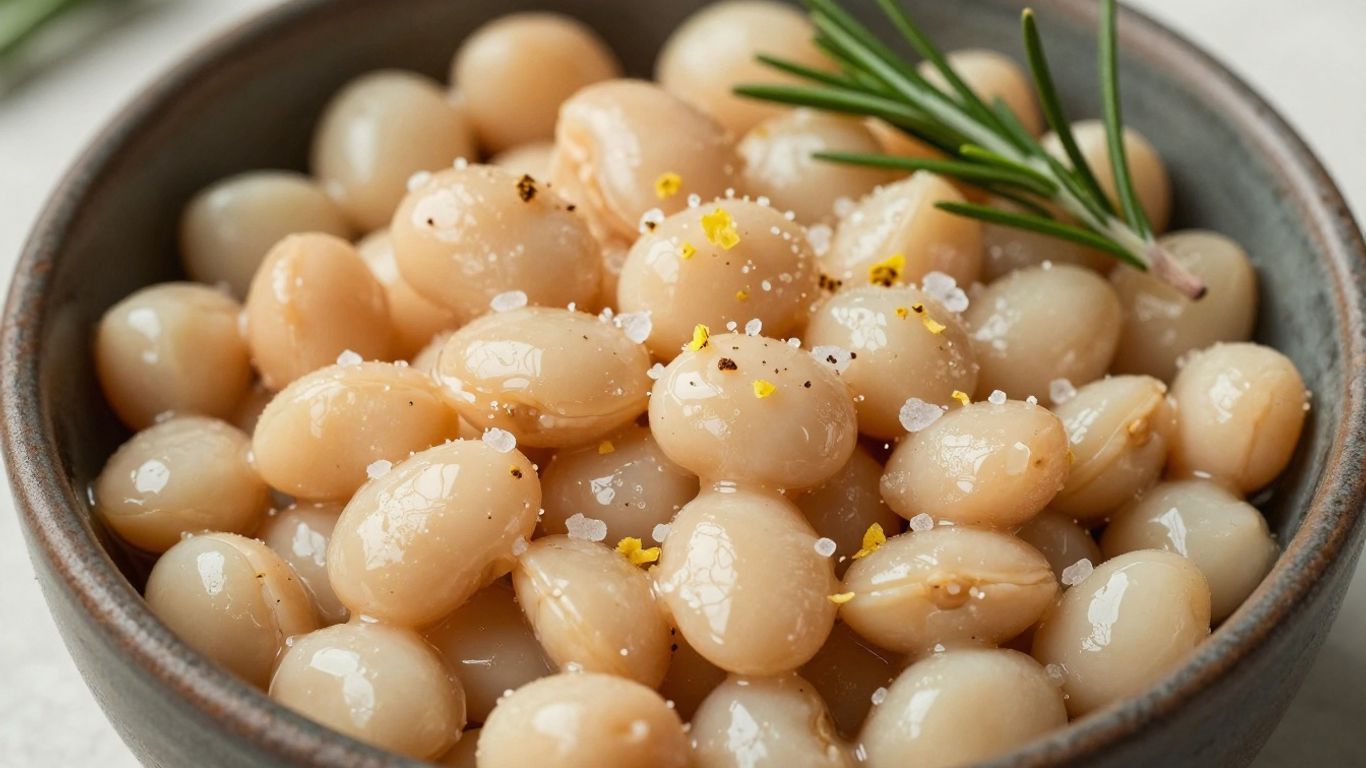
- A little baking soda can help make beans tender, especially if your water is a bit acidic. Fat, aromatics like onions and garlic, and spices all add great flavor.
- Don’t toss that bean broth! It’s full of flavor and can be used to cook grains like rice or quinoa, making them taste amazing.
Understanding The Science Of Bean Cooking
Cooking dried beans from scratch might seem a bit daunting at first, but honestly, it’s simpler than you think. Forget those canned versions; when you cook beans yourself, you get a texture and flavor that’s just miles ahead. It’s all about a few key players: beans themselves, water, salt, and a good amount of time. We’re going to break down what makes beans go from hard little pebbles to creamy, tender delights.
The Fundamental Equation: Beans, Water, Salt, and Time
At its core, cooking beans is a straightforward process. You need your dried beans, plenty of water to let them plump up, salt to help them cook evenly and add flavor, and patience. The exact amounts and times can shift a bit depending on the bean type and how fresh they are, but these four elements are your starting point for success.
Debunking Common Bean Cooking Myths
There are a lot of old wives’ tales about cooking beans. One of the biggest myths is that you can’t salt your beans until they’re cooked, or that salt makes them tough. This just isn’t true! Adding salt early actually helps the beans cook more uniformly and prevents them from getting mushy on the outside while staying hard inside. Another myth is that soaking is always required. While soaking can speed things up, many beans cook just fine without it.
The Importance Of Bean Freshness And Variety
Beans, like any dried good, have a shelf life. Older beans can take significantly longer to cook, and sometimes they just won’t soften properly, no matter what you do. Try to use beans that are a year or two old at most. Also, different types of beans have different textures and cooking needs. A small navy bean will cook differently than a large lima bean, so knowing your bean is part of the journey.
Cooking beans is a forgiving art. Don’t stress if your first batch isn’t perfect. You can always adjust water levels or cooking times. The goal is tender, flavorful beans, and you’ll get there with a little practice.
The Crucial Role Of Salt In Bean Cookery
Let’s talk about salt. It’s probably the most misunderstood ingredient when it comes to cooking beans from scratch. For years, many home cooks were told to avoid salting beans, fearing it would make them tough and prevent them from softening. Well, it’s time to set the record straight: salt is your friend when cooking beans. It doesn’t just add flavor; it plays a surprisingly important role in how your beans cook.
Why Salting Beans Enhances Even Cooking
Think of salt as a tiny helper that gets inside the bean. When you add salt to the cooking water from the start, it helps the beans absorb water more evenly. This means the inside and outside of the bean cook at a similar rate. Without enough salt, the outside of the bean might get mushy while the inside remains stubbornly hard. It also helps prevent the skins from splitting open before the bean is tender, which is something nobody wants.
The Myth Of Salt Toughness Debunked
This idea that salt makes beans tough is a persistent myth, likely stemming from adding salt too late in the cooking process or using it in highly acidic environments. When beans are cooked in a properly salted, neutral, or slightly alkaline liquid, the salt actually aids in the breakdown of pectin, a component in the bean’s cell walls. This breakdown is what allows the beans to become tender and creamy. So, go ahead and salt generously!
Achieving Salty Seawater Consistency
So, how much salt are we talking about? A good rule of thumb is to make your cooking water taste like the sea. Don’t be shy! You want a good amount of salt in the water from the very beginning. A common guideline is about 1 to 1.5 tablespoons of kosher salt per quart of water. It might seem like a lot, but remember, the beans themselves will absorb a significant portion of it, and much of the rest will be drained away with the cooking liquid. The goal is to season the beans from the inside out as they cook.
Here’s a simple way to check:
- Rinse your beans and pick them over.
- Put them in a pot and cover with water by about two inches.
- Add a generous amount of salt – start with a tablespoon per quart of water.
- Taste the water. If it tastes bland, add more salt until it has a noticeable salty flavor, similar to mild seawater.
- Bring to a boil, then reduce to a simmer and cook until tender.
Mastering The Art Of Soaking Beans
So, about soaking beans. It’s one of those things people have strong opinions about, and honestly, it can feel a bit like a chore. But let me tell you, it’s usually worth the effort. Think of it as giving your beans a little spa treatment before they hit the heat. It helps them cook more evenly and can cut down on that cooking time, which is always a win in my book.
Soaking: An Optional But Beneficial Step
While it’s true that you can cook beans straight from the bag, skipping the soak means you’re likely looking at a longer cooking time and, sometimes, a less consistent texture. Soaking helps plump up the beans, making them more receptive to heat and softening their skins. This means a more tender bean all the way through, with less chance of that frustrating situation where the outside is mushy and the inside is still a bit too firm. It’s not a magic bullet, but it’s a solid step towards that perfect, creamy texture we’re aiming for.
Determining Optimal Soaking Times By Bean Type
Not all beans are created equal, and they certainly don’t all need the same soaking treatment. Smaller beans, like cannellini or flageolet, have thinner skins and absorb water faster. They might only need about 4-6 hours. Bigger, tougher-skinned beans, such as kidney or black beans, often benefit from an overnight soak, or even up to 12 hours. Older beans, too, tend to have tougher skins and will need a longer soak. It’s a bit of a guessing game at first, but you’ll start to get a feel for it.
Here’s a general guide:
- Small Beans (e.g., Black-eyed peas, Lentils – though lentils often don’t need soaking): 4-6 hours
- Medium Beans (e.g., Navy, Pinto, Cannellini): 8-12 hours (overnight)
- Large Beans (e.g., Kidney, Lima, Butter beans): 12+ hours (overnight or longer)
Don’t stress too much about over-soaking. Beans are pretty forgiving. If you soak them a little longer than planned, they’ll likely just cook a bit faster. It’s better to err on the side of a longer soak if you’re unsure.
The Warm Water Soaking Method
My preferred method? A simple warm water soak. Just put your beans in a large bowl, cover them with hot tap water (making sure there’s plenty of room for them to expand – at least three times the volume of water to beans), and let them sit on the counter. The warmth helps kickstart the softening process. You don’t usually need to change the water, just let them do their thing. If you’re worried about them sitting out too long, especially in a warm kitchen, you can always pop them in the fridge, but be aware that cold water slows down the soaking process considerably.
The Impact Of Acidity On Bean Texture
You know, it’s funny how a little bit of acid can totally change things. When it comes to beans, adding something acidic too early in the cooking process is like putting the brakes on them. Acid makes it really hard for beans to get soft and creamy. Think of it like trying to soften a piece of leather by soaking it in vinegar – it just doesn’t work the way you’d hope.
Why Acid Prevents Beans From Softening
So, what’s actually happening here? Well, the cell walls of beans have something called pectin. Pectin is like the glue that holds everything together. When you add acid, it interferes with how pectin works, making those cell walls really firm. This means the beans can’t absorb water properly, and they just stay stubbornly hard, no matter how long you cook them. It’s a common mistake, and one that can lead to a lot of frustration if you’re not aware of it.
When To Introduce Acid For Flavor Enhancement
This doesn’t mean you have to avoid acid altogether, though! It’s all about timing. Once your beans are perfectly tender – and you’ll know because they’ll be soft and creamy when you bite into one – then you can add your acidic ingredients. This is when acid really shines, not as a tenderizer, but as a flavor booster. A little splash of something bright can really wake up the whole dish.
Here’s a general guideline for when to add acidic ingredients:
- During Soaking: Never. Acid will prevent softening.
- During Cooking (before tender): Avoid. This is the main culprit for hard beans.
- After Beans are Tender: Yes! This is the perfect time to add flavor.
The Role Of Tomatoes, Vinegar, And Citrus
When you’re ready to add that zing, you’ve got options. Tomatoes, whether fresh, canned, or as paste, bring a mild acidity and a lot of umami. Vinegar, from red wine to apple cider, offers a sharper tang. And citrus, like lemon or lime juice, provides a fresh, bright lift. Just remember, a little goes a long way. You’re looking to complement the beans and other flavors, not overpower them. So, add a tablespoon of vinegar or a squeeze of lemon, stir, and taste. You might be surprised at how much difference a small amount can make to the final dish. It’s that final touch that makes people ask, "What did you do to these beans? They’re amazing!"
The key takeaway is that acid is a powerful tool for flavor, but it needs to be introduced at the right moment in the cooking process. Wait until the beans have reached their desired tenderness before adding ingredients like tomatoes, vinegar, or citrus to avoid compromising their texture.
Alkalinity’s Contribution To Tender Beans
You know, sometimes beans can be a real puzzle. You follow the recipe, you think you’re doing everything right, and yet, they come out tough. It’s frustrating, right? Well, a lot of times, the culprit isn’t the beans themselves, but the water they’re cooking in. Water that’s a bit too acidic can actually make beans stubbornly resist softening. It’s like they’re saying, “Nope, not going to get tender today!”
How Baking Soda Balances Acidity
This is where a little kitchen chemistry comes in handy. Baking soda, that common pantry staple, is alkaline. When you add a small amount to your bean cooking water, it nudges the pH level up, making the water less acidic. Think of it as creating a more welcoming environment for the beans to relax and soften. It’s not about making the water taste soapy, just about creating the right conditions. A little goes a long way here; too much can give your beans an off-flavor.
Creating An Alkaline Cooking Environment
So, how do you actually do this? It’s pretty simple. When you start your beans cooking, after you’ve added your water and salt, stir in about a teaspoon of baking soda for every pound of dry beans. If you’re also adding ingredients that are acidic, like tomatoes or even onions and garlic (which have some acidity), the baking soda is even more helpful. It acts as a buffer, making sure those acidic elements don’t interfere with the beans’ softening process. It’s a good idea to taste your cooking water before adding the baking soda to get a baseline, then add it and see how it changes.
Ensuring Beans Become Perfectly Tender
When you get the water pH right, you’re setting yourself up for success. The beans can absorb the water more easily, and their cell walls break down properly, leading to that desirable creamy texture. It’s a subtle change, but it makes a noticeable difference in the final outcome. You’ll find your beans are more consistently tender, from the first bite to the last. It’s one of those little tricks that makes a big impact on your bean-cooking game.
Here’s a quick rundown of what happens:
- Acidic Water: Beans struggle to soften, leading to tough results.
- Alkaline Water (with baking soda): Beans absorb water better and soften more easily.
- Result: Plump, tender beans with a creamy texture.
Don’t be afraid to experiment a little. If your beans are still a bit firm after a good cooking time, a tiny pinch more baking soda might help them along. Just remember to taste as you go.
Leveraging Fat For Improved Bean Texture
Coating The Water Surface With Fat
Ever notice how some beans just seem to have a little something extra? A richer mouthfeel, a smoother finish? Often, a bit of fat is the secret ingredient. Adding a thin layer of fat to the cooking water might sound a bit odd, but it actually helps the beans cook more evenly. It creates a sort of barrier that slows down evaporation, keeping the cooking temperature more consistent. This means your beans are less likely to get that tough, leathery skin.
The Benefits Of Cooking Oils And Animal Fats
You’ve got options here. Pretty much any cooking oil you have on hand will work – think olive oil, vegetable oil, or even a neutral-tasting oil like canola. If you’re feeling a bit more adventurous, rendered animal fats like bacon grease or duck fat can add an incredible depth of flavor. Just a tablespoon or two is usually enough to make a difference. It’s not about making the beans greasy, but about using that fat to create a better cooking environment for them.
Enhancing The Broth’s Richness
Beyond just improving the beans themselves, the fat you add also contributes to the overall flavor of the cooking liquid. This broth, often called "bean liqueur," becomes a delicious base for other dishes. When fat is present, it helps carry and distribute those savory flavors throughout the liquid. So, not only are you getting better-textured beans, but you’re also creating a more flavorful foundation for soups, stews, or even just serving the beans as a side dish. It’s a win-win situation for both the beans and the delicious liquid they cook in.
Infusing Flavor With Aromatics And Spices
Beans are pretty bland on their own, right? That’s where the fun really begins. Think of your pot of beans as a blank canvas, and aromatics and spices are your paints. You can go simple or get wild with it. It’s all about building layers of taste.
Incorporating Fresh Herbs And Garlic
Fresh herbs are fantastic for adding a bright, clean flavor. Things like rosemary, thyme, or sage work wonders, especially with heartier beans like kidney or cannellini. Just toss a few sprigs into the pot while they’re simmering. Garlic is another no-brainer. You can throw in whole, unpeeled cloves – they’ll soften and become sweet, and you can easily fish them out later. Or, if you’re feeling it, mince them up and let them mingle from the start. Just remember, garlic and onions can add a bit of acidity, so if you’re using a lot, a pinch of baking soda earlier on can help keep things balanced.
The Flavor Contribution Of Onions
Onions are like the backbone of so many savory dishes, and beans are no exception. A halved onion, skin on, tossed into the pot, will lend a subtle sweetness and depth. It’s an easy way to add a lot of flavor without much effort. You can remove it after cooking, just like a bay leaf, or chop it up if you want it to be part of the final dish. Shallots work too, offering a milder, more delicate flavor.
Exploring Whole And Powdered Spices
This is where you can really get creative. Whole spices, like cumin seeds, coriander seeds, or a cinnamon stick, release their flavor slowly and gently throughout the cooking process. They’re great for adding complexity without making the dish taste overwhelmingly of one spice. Powdered spices, on the other hand, give you a more immediate flavor punch. Think smoked paprika for a bit of warmth, turmeric for color and earthiness, or a pinch of cayenne for a little heat. Don’t be afraid to experiment with spice combinations.
Here are a few ideas to get you started:
- Italian: Rosemary, sage, garlic, a parmesan rind.
- Mexican: Cumin, Mexican oregano, a dried chile, epazote.
- Indian: Cumin seeds, turmeric, ginger, curry leaves.
- Moroccan: Cumin, coriander, cinnamon stick, smoked paprika.
The key is to add these flavorings early in the cooking process, allowing them to meld with the beans and the cooking liquid. This builds a rich, nuanced broth that makes the beans themselves taste so much better.
The Secret Ingredient: Cheese Rinds
Unlocking Flavor From Hard Cheese Nubs
Don’t toss those little bits of hard cheese, like Parmesan or Pecorino Romano, that are left after you’ve grated the main wedge. These seemingly insignificant nubs are flavor powerhouses waiting to be utilized. When you’re simmering beans, adding a cheese rind to the pot is like adding a secret weapon for depth. It slowly dissolves, infusing the cooking liquid with a rich, savory, umami character that’s hard to replicate any other way. It’s a fantastic way to add complexity without needing a whole new ingredient.
Adding Depth To Broths And Stocks
When you toss a cheese rind into your bean pot, it doesn’t just sit there. Over the hours of simmering, it softens and breaks down, releasing its concentrated cheesy essence into the water. This creates a more robust and satisfying broth, which is, after all, where a lot of the bean’s flavor comes from. Think of it as a natural bouillon cube, but with a much more nuanced taste. It works particularly well with heartier beans like cannellini or borlotti, giving them an extra layer of deliciousness.
A Culinary Waste-Not Strategy
Beyond the flavor benefits, using cheese rinds is a smart move for anyone looking to reduce food waste in the kitchen. Those rinds are perfectly good and packed with flavor. Instead of ending up in the trash, they can contribute significantly to the deliciousness of your meal. It’s a simple, effective way to be more resourceful and get the most out of your ingredients. Keep a small container in your freezer specifically for collecting these rinds, and you’ll always have some on hand for your next pot of beans or soup.
Achieving The Perfect Bean Texture
So, you’ve got your beans soaking, maybe you’ve added a pinch of baking soda, and now you’re wondering what’s next for that ideal bean texture. The goal here is pretty simple: plump, tender beans that are creamy on the inside but still hold their shape. It’s not about mush, and it’s definitely not about beans that are still hard in the middle. We’re aiming for that satisfying bite that tells you they’re cooked just right.
The Goal: Plump, Tender, And Creamy
What does a perfectly cooked bean actually feel like? Imagine a bean that’s swollen up nicely, its skin is soft and yielding, and when you bite into it, it gives way with a gentle creaminess. It should still look like a bean, though – not a pile of mush. This texture is what makes beans so versatile, whether they’re going into a hearty soup, a fresh salad, or a rich dip.
Gentle Stirring And Avoiding Rolling Boils
When your beans are simmering away, resist the urge to stir them constantly or let the pot go wild with a rolling boil. Think of it like a gentle simmer, a slow dance rather than a mosh pit. Too much agitation can break the beans apart, turning your beautiful legumes into a less appealing paste. A rolling boil can also cause the skins to split prematurely. Keep the heat moderate, just enough to maintain a gentle bubbling.
The Importance Of Cooling In Cooking Liquid
Here’s a little trick that makes a big difference: let your beans cool down in their cooking liquid. Once they’re tender, turn off the heat and just let them sit there for a bit. This resting period allows the beans to absorb some of that flavorful liquid and helps them relax. It’s like letting a steak rest after cooking; it makes everything more tender and juicy. This step is key to avoiding that slightly firm, ‘al dente’ texture that some beans can have, and it really helps the skins soften up nicely.
| Bean Type | Typical Soaking Time | Approximate Cooking Time (after soaking) | Notes |
|---|---|---|---|
| Small Beans (e.g., Navy, Black) | 8-12 hours (overnight) | 45-90 minutes | Can be prone to splitting if overcooked. |
| Medium Beans (e.g., Pinto, Kidney) | 8-12 hours (overnight) | 60-120 minutes | Kidney beans can take longer to soften. |
| Large Beans (e.g., Lima, Butter) | 8-12 hours (overnight) | 90-180 minutes | Benefit from longer cooking for creaminess. |
| Small, thin-skinned (e.g., Lentils) | Not required | 20-40 minutes | Cook quickly, can become mushy if overdone. |
Don’t get too hung up on exact times. Every batch of beans is a little different. Older beans might need more time, and even the water you use can play a role. Trust your taste buds and check for tenderness regularly. It’s better to cook them a little longer than to have them turn out hard.
Maximizing Flavor With The Cooking Liquid
So, you’ve just finished cooking a beautiful pot of beans. They’re tender, creamy, and smell amazing. But wait, don’t toss that liquid! That flavorful broth, often called ‘bean liqueur’ by enthusiasts, is a treasure trove of taste. It’s absorbed all the goodness from your beans, aromatics, and seasonings, making it far too valuable to pour down the drain.
The Value Of Bean Liqueur
Think of the cooking liquid as the essence of your beans. It’s infused with their earthy notes, the salt you added, and any herbs, spices, or aromatics you tossed in. This liquid is already seasoned and ready to impart a deep, satisfying flavor to other dishes. It’s the secret weapon for taking simple grains and vegetables to the next level.
Utilizing Broth For Grains And Other Dishes
This liquid is incredibly versatile. Instead of using plain water or stock for cooking rice, quinoa, farro, or other grains, try using your bean broth. You’ll be amazed at how it enriches the final dish. It’s also fantastic as a base for soups, stews, or even risottos. A splash can add depth to a pan sauce or even be used to deglaze a pan after searing meat.
Here are a few ideas:
- Grains: Cook rice, quinoa, or barley in bean broth for a more flavorful side dish.
- Soups: Use it as the base for vegetable, lentil, or even chicken noodle soup.
- Sauces: Reduce it slightly to create a rich pan sauce for roasted meats or vegetables.
- Risotto: Substitute it for some or all of the stock in your favorite risotto recipe.
Avoiding The Sink For Flavorful Elixirs
It might seem like a small thing, but saving your bean cooking liquid is a culinary game-changer. It’s a simple way to reduce waste and boost the flavor profile of countless meals. So next time you cook beans, remember to save that precious liquid – your future meals will thank you.
The cooking liquid is more than just water; it’s a concentrated essence of everything that went into the pot. Treat it with the respect it deserves, and it will reward you with incredible depth of flavor.
Storage And Preparation For Future Meals
Getting ahead with beans makes weeknight cooking a breeze. Having cooked beans on standby means you can toss together a salad, stew, or grain bowl with hardly any fuss. Here’s how to make your beans last and keep their best texture and flavor.
Refrigerating Beans In Their Liqueur
After cooking, don’t toss out that savory, starchy cooking liquid. Instead, store your beans fully submerged in their bean broth in an airtight container. This keeps the beans moist and helps prevent the skins from drying out or splitting. In the fridge, they’ll stay good for up to a week. The broth can double as the base for soups or add depth to other dishes.
- Let beans cool to room temperature in their liquid before storing
- Transfer both beans and enough broth to cover to a sealed container
- Refrigerate up to 7 days
If you’re anything like me, most of your next meals will come together much faster when there’s a jar of creamy, perfectly seasoned beans ready to scoop.
Freezing Soaked Beans For Convenience
Sometimes, you want even more flexibility. Soaking beans in advance, then freezing them, gives you a head start for future recipes. Just portion out your soaked (but uncooked) beans into freezer-safe bags or containers. When you’re ready to cook, add them straight from the freezer to the pot—no soaking step required.
Freezer storage tips:
- Portion soaked, drained beans for single uses (about 1 to 2 cups per bag)
- Remove as much air as possible to prevent freezer burn
- Label bags with date and bean type
| Method | Beans Needed | Preparation | Storage Length |
|---|---|---|---|
| Refrigerate | Cooked | Covered with broth | 5–7 days |
| Freeze | Soaked | Drained, portioned | 2–3 months |
| Freeze (cooked) | Cooked | With some broth | 2–3 months |
Batch Cooking For Week-Long Availability
If you plan ahead even a little, batch cooking beans can pay off all week. Cook up a big pot on Sunday, and you’ll have plenty to use in tacos, soups, pastas, or grain bowls with little effort each day.
- Cook a large batch (about 1–2 pounds dried)
- Cool and store in broth as above
- Use throughout the week in various dishes
You’ll find that having beans already made is the key to building easy, nourishing meals during busy days. It’s a small task that brings big rewards to your dinner table.
Planning meals for the future is a smart way to stay on track with your health goals. When you have healthy meals ready to go, it’s much easier to avoid unhealthy choices. Think about prepping ingredients or even full meals ahead of time. This saves you time during busy weeks and helps you stick to your plan. Want to learn more about making meal prep simple and effective? Visit our website for tips and tricks!
The Takeaway: Your Beans, Your Way
So, we’ve talked about how salt, a little bit of acid at the right time, and patience are your best friends when it comes to cooking beans. It’s not some big mystery. You can get really creamy, tender beans right at home, way better than anything from a can. Don’t be afraid to experiment with different flavors, too. Throw in some herbs, spices, or even a cheese rind. The cooking liquid itself is gold, so don’t toss it! Use it for grains or other dishes. Cooking beans from scratch is a simple skill, but it opens up a whole world of delicious possibilities. Give it a try, and enjoy the process.
Frequently Asked Questions
Do I really need to soak beans before cooking them?
Soaking beans is a helpful step, but it’s not a must! Soaking them for a few hours or overnight can make them cook a bit faster. If you’re short on time, you can skip soaking and just cook them longer. They’ll still turn out great!
Is it true that salt makes beans tough?
That’s a common myth, but it’s actually not true! Adding salt to your bean water helps them cook more evenly and prevents their skins from splitting. Don’t be shy with the salt – aim for water that tastes like the sea!
Why do my beans sometimes stay hard even after cooking for a long time?
The most common reason for hard beans is adding acidic ingredients like tomatoes, vinegar, or lemon juice too early. Acid can stop beans from getting soft. Wait until your beans are nice and tender before adding any sour flavors.
What’s the deal with baking soda and beans?
Baking soda makes the cooking water a bit alkaline, which helps beans soften up nicely. If your water is a little acidic, beans might not get tender. A little baking soda can balance things out and make them super creamy.
Can I add fat to my beans while they cook?
Yes, you can! Adding a bit of oil or animal fat to the water’s surface can actually make the beans and their cooking liquid taste richer and improve their texture. It’s like giving them a little spa treatment.
What’s the best way to store cooked beans?
Keep your cooked beans in the fridge with some of their cooking liquid – it’s called ‘bean liqueur.’ This helps them stay flavorful and keeps them from drying out. They’ll last about a week this way. You can also freeze them in portions with the liquid for later.
Is it okay to let beans boil hard?
Try to avoid a rolling boil! A gentle simmer is best. Boiling too hard can make the bean skins break apart before the inside is cooked, leading to a mushy texture or beans that don’t cook evenly.
What should I do with the leftover bean cooking liquid?
Never pour that flavorful liquid down the drain! It’s packed with taste. Use it as a base for cooking grains like rice or quinoa, or add it to soups and stews for an extra layer of deliciousness.