
Cooking grains can seem tricky, right? You want fluffy rice, not mush, and maybe chewy barley for a salad. It all comes down to a few simple things, and understanding grain cooking charts is a big part of that. We’re going to break down water amounts and how to get the texture you’re actually aiming for. No more guessing games in the kitchen!
Key Takeaways
- Water ratios are your starting point, but they can change based on the grain’s age and type.
- Aiming for a specific texture – fluffy, creamy, or firm – guides your cooking choices.
- The rest phase after cooking is super important for letting grains finish properly.
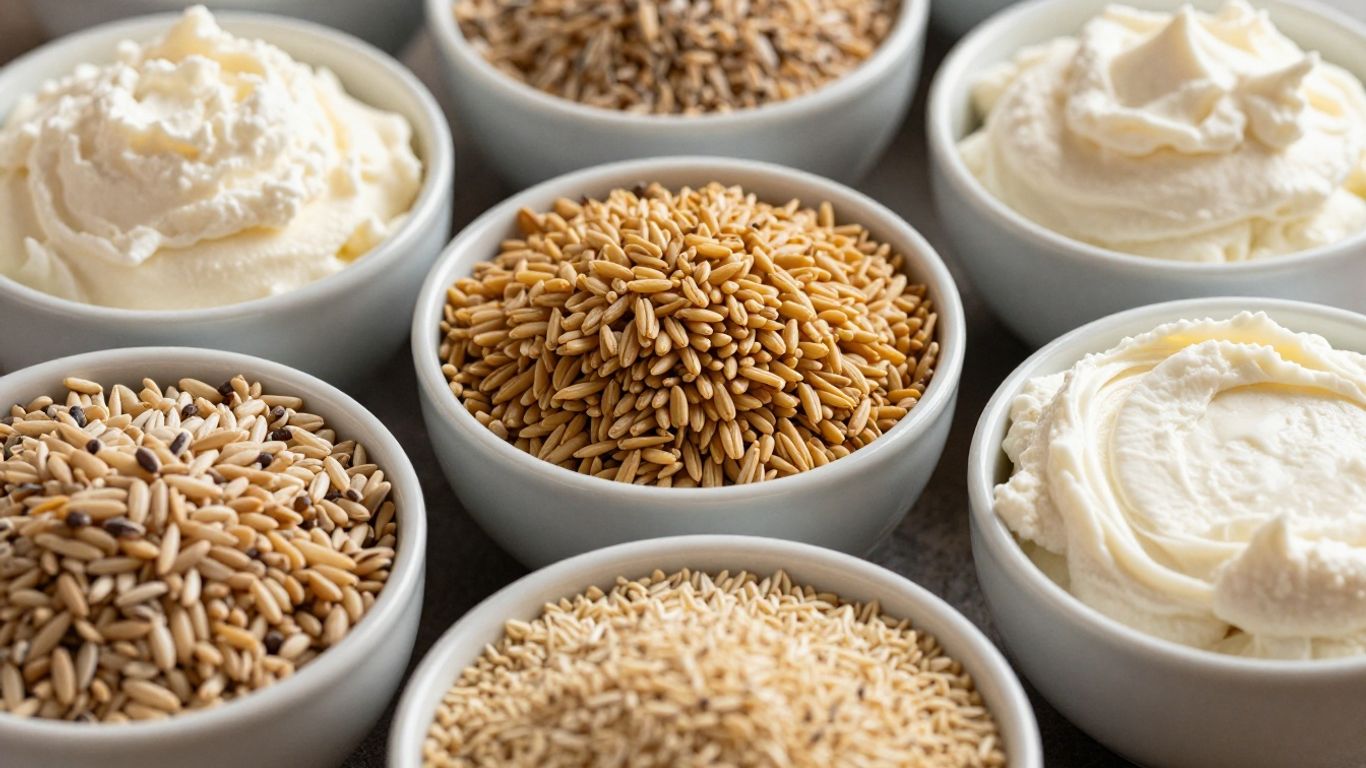
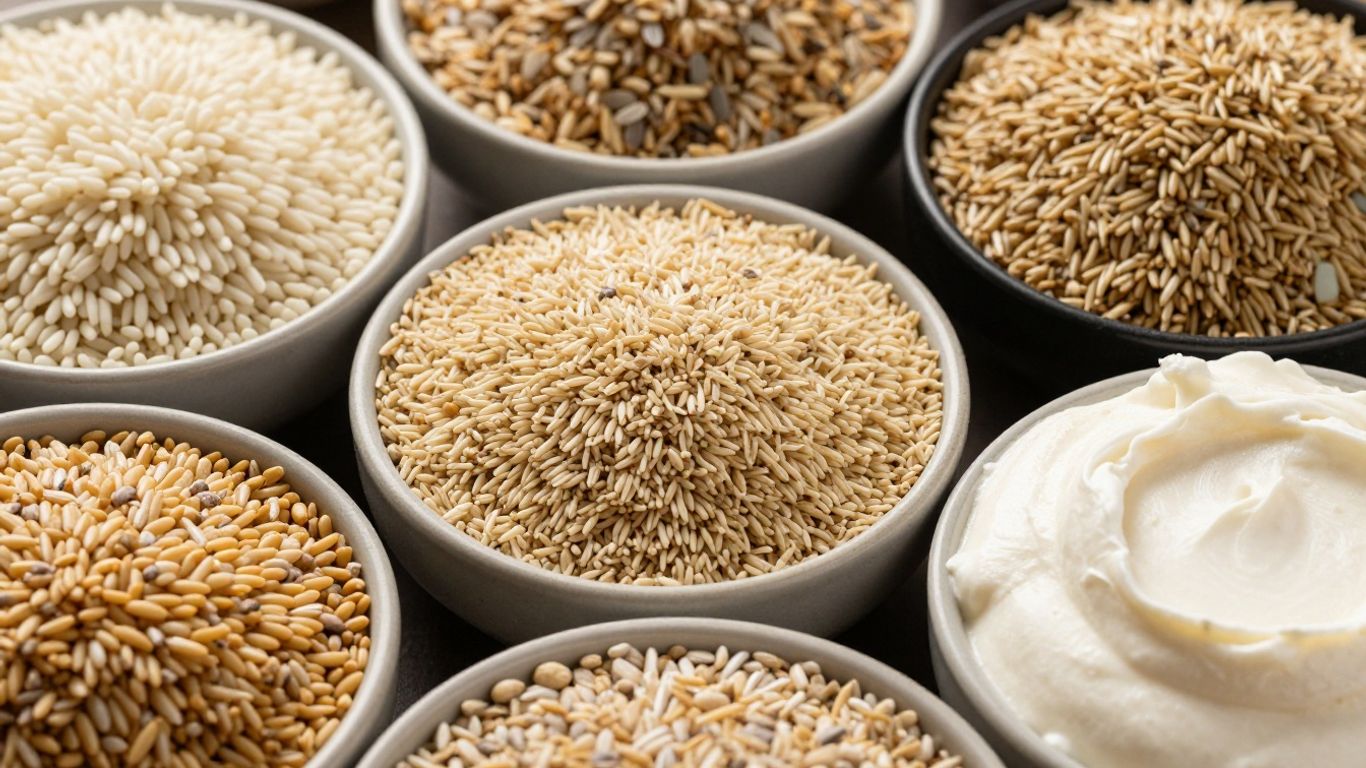
- Different grains, like rice and quinoa versus oats and polenta, need different approaches.
- Troubleshooting common issues like mushy or burnt grains is easier with a little knowledge.
Understanding Grain Cooking Charts: The Foundation
Cooking grains might seem straightforward, but getting them just right every time can be a bit of a puzzle. Think of grain cooking charts as your reliable guide, helping you move beyond guesswork. They’re built on a few core ideas that, once you grasp them, make cooking grains much simpler and more consistent. It’s all about controlling the variables.
The Role of Ratio in Grain Preparation
The ratio of liquid to grain is probably the most important number you’ll find on any cooking chart. It’s not just about having enough water to cook the grain; it’s about giving it the right amount to absorb so it reaches your desired texture. Too little liquid, and your grains might be hard and undercooked. Too much, and you risk a mushy, sticky mess. Getting this ratio right is the first big step to success. Different grains soak up water differently, so a chart provides a starting point tailored to each type.
Defining Your Texture Target
What do you want your cooked grain to be like? Fluffy and separate, like perfectly cooked rice for a stir-fry? Or maybe creamy and soft, like oatmeal for breakfast? Or perhaps firm with a bit of chew, good for a hearty salad? Your texture goal directly influences the cooking method and, importantly, the water ratio you’ll use. A chart helps you connect your desired outcome to the specific measurements needed. It’s about cooking the grain how you want it, not just that you want it cooked.
The Importance of the Rest Phase
After the cooking time is up and the heat is turned off, many grains benefit from a period of rest, usually with the lid still on. This isn’t just downtime; it’s an active part of the cooking process. During this rest, any remaining steam finishes cooking the grains gently, and the absorbed liquid fully distributes. Skipping this step can lead to unevenly cooked grains – some might be done, while others are still a bit firm or wet. It’s a simple step that makes a big difference in the final texture.
Understanding these basic principles – ratio, texture, and resting – transforms grain cooking from a chore into a predictable skill. It’s the foundation for making grains a reliable and delicious part of any meal.
Mastering Water Ratios for Perfect Grains
Getting the water ratio right is probably the most important step when cooking grains. It’s the difference between a fluffy side dish and a sticky mess. Think of it like baking – too much or too little of a key ingredient can really throw things off. The amount of liquid you use directly impacts how tender the grains become and how they hold together.
There are a couple of main ways to cook grains, and each has its own approach to liquid. The absorption method is super common for things like rice, quinoa, and oats. You add a set amount of water, bring it to a simmer, cover it up, and let the grain soak it all in. It’s pretty straightforward, but you really need to nail that ratio for it to work well. Then there’s the boil-and-drain method, which is what you usually do for pasta. You use a lot more water, cook the pasta until it’s done, and then drain the excess. This method is a bit more forgiving if your ratio is a little off, but you still have to watch it closely so it doesn’t get mushy.
Absorption Method Ratios
For grains cooked using the absorption method, the ratio of dry grain to liquid is key. These numbers are a great starting point, but remember they can change based on how old your grain is or even the type of pot you’re using. A tighter lid means less steam escapes, so you might need slightly less liquid.
Here’s a quick guide for some common grains:
- White Rice (long-grain, basmati, jasmine): 1 part grain to 1.5 parts water. This usually gives you fluffy, separate grains.
- Brown Rice: 1 part grain to 2 or 2.25 parts water. Brown rice needs a bit more liquid and time.
- Quinoa: 1 part grain to 2 parts water. Aim for fluffy grains with that visible germ ring.
- Rolled Oats: 1 part oats to 1.5 or 2 parts water, depending on if you want them thicker or creamier.
Boil-and-Drain Method Considerations
While the absorption method relies on precise ratios, the boil-and-drain technique is more about cooking in ample liquid and then removing what’s left. This is the go-to for pasta and sometimes for grains like barley or certain types of wheat berries if you’re aiming for a very specific, tender texture without worrying about exact liquid absorption. The main thing here is to use plenty of well-salted water so the grains don’t stick together and have room to move. You’ll cook them until they reach your desired tenderness, then drain them thoroughly. It’s a forgiving method, but you still need to keep an eye on the cooking time to avoid overcooking.
Adjusting Ratios for Grain Age and Type
It’s not just about the grain type; age matters too. Older grains, especially brown rice, tend to be drier and might need a little extra liquid – maybe an extra tablespoon or two per cup of grain. Conversely, if you find your grains are consistently too soft or mushy, try reducing the liquid slightly next time. Different varieties within a grain type also behave differently. For instance, short-grain rice might need a slightly different ratio than long-grain basmati to achieve that perfect texture. Don’t be afraid to experiment a little; small adjustments can make a big difference in the final outcome.
Achieving Desired Textures: A Grain-by-Grain Guide
So, you’ve got your water ratio down, but what about the final feel of your grains? It’s not just about cooking them until they’re soft; it’s about hitting that sweet spot for whatever dish you’re making. Think about it: fluffy rice for a stir-fry is totally different from the creamy oats you want for breakfast. Getting the texture right is where the magic happens, turning simple grains into something special.
Fluffy and Separate Grains
This is the goal for many grains, especially rice and quinoa. You want each grain to be distinct, not clumped together into a sticky mass. The key here is minimal agitation during cooking and making sure you’ve got the right amount of liquid. Too much stirring breaks down the grains and releases starch, which is exactly what you don’t want for this texture. A tight-fitting lid and a proper rest period after cooking are also super important. This allows the steam to finish cooking the grains evenly and lets them firm up a bit.
- Key Indicators: Grains are plump but individual. When you fluff them with a fork, they separate easily. There’s no excess water pooling at the bottom of the pot.
- Common Pitfalls: Over-stirring, lifting the lid too often, or using too much liquid can lead to mushiness.
- Fixes: If slightly underdone, a short steam with a bit of added water can help. If too wet, uncover and gently simmer for a minute or two before resting.
Creamy and Cohesive Grains
This texture is all about that comforting, almost porridge-like consistency. Think risotto, creamy polenta, or well-cooked oatmeal. Here, you actually want some of that starch to release. It thickens the cooking liquid and binds the grains together. More stirring is usually involved, and sometimes a slightly higher liquid-to-grain ratio helps achieve that smooth, flowing texture. It’s about building a rich, satisfying base for your meal.
- Techniques: Gradual addition of hot liquid, consistent stirring (especially for risotto and polenta), and cooking until the mixture coats the back of a spoon.
- Desired Outcome: A texture that’s thick but still fluid, with tender grains that have melded together.
- Troubleshooting: If it gets too thick too fast, just stir in a little more hot liquid (water or broth) until you reach the right consistency.
Firm-Tender Grains with Bite
This texture is perfect for grains like barley, farro, or even some types of brown rice when you want them to hold their shape and offer a satisfying chew. It’s a balance between being fully cooked and retaining a slight resistance in the center. These grains are often great for salads, soups, or as a side dish where you want them to stand up to other ingredients. They shouldn’t be hard or chalky, but they definitely shouldn’t be mushy either.
- Cooking Method: Often cooked using the absorption method, but sometimes the boil-and-drain method works well, especially for larger batches or when you want to be sure about the texture.
- The ‘Bite’: This refers to a slight chewiness that remains after cooking. It’s a sign the grain is cooked through but hasn’t broken down completely.
- Versatility: Grains cooked to this texture are fantastic for meal prep, as they hold up well in the refrigerator and can be repurposed into various dishes.
The right texture isn’t just about preference; it’s about how the grain interacts with other ingredients. A fluffy grain won’t soak up a rich sauce the same way a creamy one will, and a firm-tender grain adds a textural contrast that can make a dish more interesting. Paying attention to these details transforms your cooking from basic to brilliant.
White Rice: From Fluffy to Tender
White rice is a kitchen staple for a reason. It’s versatile, quick to cook, and can be the base for so many meals. But getting it just right – not too mushy, not too hard – can sometimes feel like a guessing game. The key really lies in the water ratio and how you treat it after cooking.
Ideal Ratio for Fluffy Grains
For that classic fluffy, separate-grain texture, the general rule of thumb for long-grain white rice is a 1:2 ratio of rice to water. So, for every cup of uncooked rice, you’ll want two cups of liquid. This includes water, broth, or a mix of both if you’re looking for a little extra flavor. Some folks like to rinse their rice first to get rid of excess starch, which can lead to even fluffier results. If you do rinse, you might want to slightly reduce the water, maybe by a tablespoon per cup of rice, though many find the 1:2 ratio works fine even with rinsing.
Here’s a simple guide:
- 1 cup rice needs 2 cups water (yields about 3 cups cooked)
- 2 cups rice needs 4 cups water (yields about 6 cups cooked)
- 3 cups rice needs 6 cups water (yields about 9 cups cooked)
Target Texture: Tender, Distinct Grains
When we talk about "tender, distinct grains," we mean rice that’s cooked through but each grain still holds its shape. It shouldn’t be sticky or clumped together, nor should it be hard in the center. The cooking process itself is pretty straightforward. You’ll bring the rice and water to a boil, then immediately reduce the heat to the lowest possible simmer, cover it tightly, and let it cook undisturbed. The goal is to let the rice absorb the water gently.
The magic happens not just during cooking, but also in the resting phase. This is where the rice finishes steaming and the moisture evens out, preventing that dreaded mushy texture.
Adjusting Liquid for Consistent Results
While 1:2 is a great starting point, a few things can influence how much liquid you actually need. The age of your rice can play a role; older rice might need a touch more water. Also, if you’re using a pot with a less-than-perfectly-fitting lid, some steam might escape, requiring a bit more liquid. The biggest factor, though, is often personal preference and how you plan to use the rice. For a slightly softer texture, perhaps for rice bowls that reheat well, you might lean towards a 1:1.6 ratio. Conversely, if you’re aiming for rice that’s super firm and separate, maybe for fried rice where you want it to hold up, you might even go slightly less than 1:2, or be diligent about drying it out after cooking.
Brown Rice: Achieving Chewy Tenderness
Brown rice, with its wholesome bran and germ intact, offers a delightful chewiness that white rice just can’t match. It’s a bit more of a commitment in the kitchen, taking longer to cook, but the payoff in texture and nutty flavor is totally worth it. Getting it just right means understanding its unique needs, especially when it comes to water and patience.
Recommended Water Ratios
Brown rice needs a bit more liquid than its white counterpart because those outer layers absorb more water during cooking. A good starting point is a ratio of 1 part brown rice to 2 to 2.25 parts liquid. Think of it as giving the rice room to soften and become tender without drying out. Using broth instead of water can add a nice depth of flavor, too.
| Grain Type | Liquid Ratio (Dry : Liquid) | Notes |
|---|---|---|
| Brown Rice | 1 : 2 to 2.25 | Adjust for age; older rice needs more liquid |
Texture Goal: Chewy and Tender
The ideal texture for brown rice is tender, but with a satisfying chew. You don’t want it mushy or hard in the center. The grains should be distinct, plumped up, and have a slight resistance when you bite into them. This texture makes it a fantastic base for bowls, a hearty side dish, or a great addition to salads where it won’t get lost.
The Significance of Resting Time
This is where the magic really happens for brown rice. After the initial cooking, letting it rest, covered and off the heat, for at least 10 minutes is non-negotiable. This resting period allows the residual steam to finish cooking the grains evenly and lets the moisture distribute properly. Skipping this step often leads to rice that’s either too firm or has a gummy texture because the cooking process hasn’t fully completed.
Don’t be tempted to lift the lid during the cooking or resting phases. Every time you peek, you let out precious steam that’s essential for tenderizing the whole grains. Trust the process and let the rice do its thing undisturbed.
Quinoa and Couscous: Light and Separate
Quinoa’s Absorption Ratio
Quinoa, often mistaken for a grain, is actually a seed, but it cooks up similarly and is a fantastic option for achieving that light, separate texture we’re aiming for. The key here is the water ratio. For most varieties of quinoa, a 1:2 ratio of quinoa to water or broth works like a charm. This means for every cup of dry quinoa, you’ll want two cups of liquid. This ratio allows the quinoa to absorb all the liquid, leaving you with fluffy, distinct grains.
Achieving the Visible Germ Ring
One of the tell-tale signs of perfectly cooked quinoa is the visible germ ring. After the quinoa has absorbed most of its liquid and you’ve let it rest, you’ll notice a little white spiral or ring around the outside of each grain. This indicates that the quinoa is fully cooked and ready. If you don’t see this, it might mean it needs a little more cooking time or a slightly different ratio next time. Don’t worry if it’s not perfect the first time; it takes a bit of practice.
Couscous Texture and Ratio
Couscous is a bit different. It’s made from semolina that’s been moistened and rolled into tiny balls. Because of this, it cooks very quickly and requires a much lower liquid ratio. For standard couscous, a 1:1 ratio of couscous to boiling liquid (water or broth) is usually spot on. You simply pour the boiling liquid over the couscous, cover it, and let it sit off the heat for about five minutes. Then, you fluff it with a fork. This method results in those wonderfully light, separate granules that are perfect for side dishes or salads. If you prefer it a little softer, you can nudge the ratio slightly to 1:1.1, but be careful not to add too much, or it can get gummy.
Oats and Polenta: Creamy or Structured

Rolled Oats Texture Variations
Rolled oats, those flattened oat groats, are super versatile. You can get them to be really creamy and comforting, or a bit more toothy, depending on how you cook them and how much liquid you use. It’s all about controlling that starch release.
- For creamy oats: Stir them frequently while they cook. This breaks down some of the oat’s starches, making the cooking liquid thicker and giving you that classic porridge texture. Use a ratio of about 1 cup rolled oats to 2 cups liquid (water, milk, or a mix).
- For chewier oats: Stir them less. Let them simmer gently and absorb the liquid without too much coaxing. A ratio of 1 cup oats to 1.5 cups liquid works well here. You’ll get a more distinct oat texture.
- For quick oats: These are rolled oats that have been cut thinner. They cook faster and tend to be creamier by nature, even with less stirring. Stick to the 1:2 ratio (oats to liquid) and watch them closely.
The key is to match your stirring to your desired outcome.
Steel-Cut Oats Ratios
Steel-cut oats are oat groats chopped into pieces. They take longer to cook than rolled oats and have a naturally chewier, nuttier texture. Because they’re less processed, they don’t release starch as readily, so they tend to stay more separate.
A good starting point for steel-cut oats is a 1:3 ratio of oats to liquid. So, for one cup of steel-cut oats, you’d use three cups of water, milk, or broth. Bring the liquid to a boil, add the oats, reduce the heat to a simmer, cover, and cook for about 20-30 minutes, or until tender and the liquid is mostly absorbed. You might need to add a splash more liquid if it gets too thick before the oats are cooked through.
Steel-cut oats benefit from a good rest after cooking. Once they’re done, take them off the heat and let them sit, covered, for about 5 minutes. This allows them to finish absorbing any remaining liquid and firm up a bit, giving you a great texture.
Polenta’s Smooth or Sliceable Finish
Polenta, made from ground corn, is another grain that can go from creamy to firm. The grind of the cornmeal and the cooking method really change the final texture.
- For creamy polenta: Use medium or fine-ground cornmeal. The ratio is typically 1 part cornmeal to 4 or 5 parts liquid (water, broth, or milk). Whisk the cornmeal into the simmering liquid gradually to avoid lumps. Keep stirring, especially at the beginning, to release starches and create a smooth, velvety texture. Cook for about 20-30 minutes, stirring often, until it thickens.
- For sliceable polenta: Use coarser ground cornmeal. The ratio might be closer to 1 part cornmeal to 3 or 4 parts liquid. Cook it, stirring frequently, until it’s very thick. Pour the cooked polenta into a greased baking dish or onto a baking sheet, spread it evenly, and let it cool completely. Once chilled, it will firm up enough to be sliced.
| Cornmeal Grind | Liquid Ratio (Cornmeal:Liquid) | Desired Texture | Cooking Method Notes |
|---|---|---|---|
| Fine/Medium | 1:4 or 1:5 | Creamy, smooth | Frequent stirring |
| Coarse | 1:3 or 1:4 | Firm, sliceable | Stirring, then chilling |
Barley and Lentils: Versatile Staples
Barley and lentils are workhorses in the kitchen, offering a lot of flexibility for different meals. They can be the star of a dish or a supporting player, and getting them just right is all about the water ratio and how long you cook them.
Pearled Barley’s Tender-Chewy Texture
Pearled barley is probably what most people think of when they hear "barley." It’s had the outer hull and some of the bran removed, which makes it cook faster and results in a softer texture compared to hulled barley. For pearled barley, a good starting point for the water ratio is 1 part barley to 3 parts liquid. This usually takes about 1.5 hours to cook on the stovetop. The goal here is a tender grain that still has a slight chew to it, making it perfect for adding substance to soups or serving as a side dish.
| Grain Type | Dry Grain : Liquid Ratio | Approximate Cooking Time | Desired Texture |
|---|---|---|---|
| Pearled Barley | 1 : 3 | 1.5 hours | Tender with a slight chew |
Lentil Ratios for Shape Retention or Breakdown
Lentils are fantastic because they can be cooked to achieve two very different results, depending on the type and how you cook them. For lentils you want to keep whole, like green or brown varieties, use a ratio of about 1 part lentils to 3 parts liquid and simmer them uncovered. This helps them hold their shape, which is great for lentil salads or as a base for grain bowls. If you’re aiming for a creamy, broken-down texture, like for a hearty stew or a dip, you might use a bit more liquid and stir them more frequently as they cook.
- Green/Brown Lentils: Aim for a ratio of 1:3 (lentils to liquid) for salads and side dishes. They should remain mostly intact.
- Red/Yellow Lentils: These break down more easily. A ratio of 1:3 or slightly more liquid works well for thickening soups and stews.
- Cooking Method: Simmering uncovered often helps lentils retain their shape better.
Incorporating Barley into Salads and Soups
Barley, especially pearled barley, is a fantastic addition to many dishes. In soups, it absorbs some of the broth and adds a satisfying chewiness that makes the soup feel more substantial. When making barley salads, cooking it slightly firmer and then cooling it helps the grains stay separate and gives a pleasant bite. Always remember to rinse your barley before cooking, just like you would rice, to remove any excess dust or starch.
Cooking grains like barley and lentils is all about controlling the liquid. Too much, and you get mush; too little, and they’re hard. Finding that sweet spot with the right ratio is key to getting the texture you want, whether it’s for a hearty soup or a refreshing salad.
Troubleshooting Common Grain Cooking Issues
Even with the best intentions and charts, sometimes grains don’t turn out quite right. Don’t worry, it happens to everyone! Most common problems are pretty straightforward to fix, or at least learn from for next time. Let’s look at a few frequent issues and how to get back on track.
Diagnosing Mushy Grains
Mushy grains, especially rice or quinoa, often mean one of a few things happened. It could be that you used a bit too much water, the heat was a little too high during simmering, or the lid was lifted too often, letting precious steam escape. Sometimes, just cooking for a few minutes too long can push it over the edge.
- Too much liquid: This is the most common culprit. The grains simply absorbed more water than they could handle.
- Heat too high: A vigorous simmer can break down grains faster than intended.
- Lid lifted frequently: Each peek lets steam out, disrupting the cooking environment and potentially adding time.
If your grains are already mushy, the best immediate fix is to spread them out on a baking sheet to cool and dry a bit. They might not be ideal for a fluffy side dish, but they can be great for things like fried rice or adding body to soups.
Addressing Burnt Bottoms
Discovering a burnt layer at the bottom of your pot is disheartening. This usually points to heat that was too intense for the pot you’re using, or perhaps a pot with a thin base that doesn’t distribute heat evenly. Not having quite enough liquid can also contribute, as the liquid helps regulate the temperature.
- Heat management: Always aim for the lowest possible simmer after the initial boil.
- Pot choice: A heavier-bottomed pot is your best friend for preventing scorching.
- Liquid ratio: Ensure you’re using the correct amount of liquid for the grain.
If you catch it early, carefully scoop the unburnt grains into a clean pot or bowl. Don’t try to scrape the burnt bits into the good grains; it’ll just make everything taste smoky.
Correcting Bitter Quinoa
That slightly bitter taste in quinoa is almost always due to the natural saponins on the outside of the seed. The good news is, it’s usually preventable with a simple step before cooking.
- Rinsing is key: Always rinse quinoa thoroughly under cold running water, preferably in a fine-mesh sieve, until the water runs clear. This washes away the saponins.
- Toasting: For an extra layer of flavor and to help ensure no bitterness, you can lightly toast the rinsed and dried quinoa in a dry skillet for a minute or two before adding liquid.
If you forgot to rinse and it tastes bitter, there’s not much to do after cooking except maybe try to mask it with strong flavors in a dish. Next time, remember that rinse!
Fixing Sticky Pasta
While not technically a grain, pasta often gets lumped in. Sticky, clumped pasta usually happens when it sits too long after draining, or if there wasn’t enough water movement during the initial cooking. If your sauce isn’t ready when the pasta is, it can start to stick together.
- Drain and sauce quickly: Aim to have your sauce ready to go the moment the pasta is drained.
- Plenty of water: Use a large pot with plenty of well-salted water.
- Stir early: Give the pasta a good stir in the first minute or two of cooking to prevent sticking.
If your pasta is already sticky, you can often revive it by tossing it into a pot of simmering water for about 30 seconds to a minute, then draining and saucing immediately. It helps loosen things up.
Advanced Grain Preparation Techniques
Sometimes, you want to go a little further than just boiling water and adding grains. There are a couple of techniques that can really change how your grains turn out, making them easier to digest and sometimes even tastier. We’re talking about soaking and using different liquids.
The Benefits of Soaking Grains
Soaking grains before you cook them isn’t just some old-fashioned thing people did. It actually helps break down phytic acid, which can make it harder for your body to absorb minerals. When you soak, the grain starts to sprout a little, making its nutrients more available. Plus, it often means they cook faster, which is a nice bonus.
Here’s a quick rundown of why soaking is a good idea:
- Improved Digestibility: Soaking helps to soften the grains and begin the breakdown of complex carbohydrates and proteins.
- Enhanced Nutrient Absorption: It reduces phytic acid, allowing your body to better absorb minerals like iron, zinc, and calcium.
- Reduced Cooking Time: Soaked grains typically cook more quickly than their dry counterparts.
Choosing an Acidic Soaking Medium
While you can soak grains in plain water, adding an acidic element can really kickstart the process. Think of it like a head start for digestion. You can use things like raw apple cider vinegar, lemon juice, kombucha, or even yogurt or buttermilk. The acid helps to further break down compounds in the grain.
- Raw Apple Cider Vinegar: A popular choice, readily available and effective.
- Lemon Juice: Adds a subtle brightness.
- Kombucha or Water Kefir: Fermented options that introduce beneficial microbes.
- Yogurt or Buttermilk: Dairy-based options that provide a tangy flavor.
The general idea is to use about 1 tablespoon of your chosen acidic medium per cup of liquid.
Using Broth or Stock for Enhanced Flavor
Why settle for plain water when you can boost the flavor from the start? Instead of using all water for cooking, you can substitute half of the liquid with broth or stock. This infuses the grains with a savory depth that plain water just can’t match. It’s a simple swap that makes a big difference, especially for grains that will be served as a side dish or as the base for a meal.
When you’re soaking, you might use half water and half broth, plus your acid. Then, when you cook, you add the remaining liquid, which would be the other half of your broth. This method is great for making grains more interesting without adding a lot of extra steps.
Want to get your grains just right? We’ve got some awesome tips to help you prepare them perfectly every time. Learn how to make your grains taste amazing and be super healthy. Ready to become a grain pro? Visit our website to discover all the secrets!
Bringing It All Together
So, we’ve walked through the ins and outs of grain cooking, from understanding those tricky water ratios to aiming for that perfect texture. It might seem like a lot at first, but really, it boils down to a few key ideas. Getting the liquid right is a big one, of course, but so is knowing how you want your grains to feel when you eat them. Don’t forget that rest period, either – it’s more important than you might think. With these basics in hand, you’re ready to tackle just about any grain out there. Go ahead, experiment a little, and see what delicious meals you can create. Happy cooking!
Frequently Asked Questions
Why is the amount of water important when cooking grains?
The amount of water, or the ratio of water to grain, is super important because it tells the grain how much to swell up. Too little water, and it might stay hard. Too much water, and it can get mushy. Getting the ratio right helps the grain cook perfectly, just the way you want it.
What does ‘texture target’ mean for cooking grains?
A ‘texture target’ is basically what you want your cooked grain to feel like when you eat it. Do you want it to be light and fluffy, like separate grains of rice? Or maybe creamy and soft, like oatmeal? Or perhaps a little chewy with a bite, like barley? Knowing your target helps you choose the right cooking method and water amount.
Why do recipes sometimes say to let grains ‘rest’ after cooking?
That resting time is like letting the grain take a deep breath after cooking. It allows the steam inside to spread out evenly, making sure all the grains are cooked through and have the perfect texture. It’s a small step that makes a big difference in how fluffy or tender your grains turn out.
Can I use broth instead of water to cook grains?
Absolutely! Using broth or stock instead of plain water adds a lot more flavor to your grains. Just keep in mind that broth might already have salt, so you might want to adjust how much extra salt you add. The amount of liquid might also change slightly, but it’s usually a great way to make your grains tastier.
Why does my rice sometimes turn out sticky or mushy?
Sticky or mushy rice usually happens for a couple of reasons. You might have used too much water, or maybe the heat was too high, causing it to cook too fast and break down. Also, stirring too much can release starches that make it sticky. Try using less water next time, keeping the heat low, and resist the urge to stir too often!
How can I make my brown rice less tough?
Brown rice is naturally chewier because it has the whole bran and germ intact. To make it more tender, you often need a bit more water than white rice, maybe around 2 to 2.25 cups of water for every cup of brown rice. Cooking it a little longer and making sure it rests properly after cooking also helps a lot.
Is rinsing grains like quinoa or rice really necessary?
Rinsing grains like quinoa and rice before cooking is a good idea! It helps wash away any extra dust or a natural coating called saponin, which can sometimes make them taste a little bitter or soapy, especially quinoa. It also gets rid of extra starch that can make them clump together.
What’s the difference between cooking rolled oats and steel-cut oats?
Rolled oats are flatter and have been steamed and rolled, so they cook quickly and tend to be creamier. Steel-cut oats are chopped oat groats, meaning they’re denser and take longer to cook, resulting in a chewier texture. You’ll also need more liquid for steel-cut oats compared to rolled oats to get them nice and tender.